

Do I Install MacOS on Macintosh HD Or Macintosh HD Data: When it comes to installing MacOS, you should install it on the “Macintosh HD” rather than “Macintosh HD Data.” The “Macintosh HD” is the primary system disk where the operating system resides, while “Macintosh HD Data” is typically used for user data storage.
Installing MacOS on the correct partition ensures the smooth functioning of your Mac and allows you to take full advantage of its features. When it’s time to install MacOS on your Mac, the recommended choice is to install it on the “Macintosh HD.” This partition serves as the main system disk for your operating system.
On the other hand, “Macintosh HD Data” is primarily used for storing user data. By installing MacOS on the appropriate partition, you ensure optimal performance and make the most of your Mac’s capabilities. So, go ahead and choose “Macintosh HD” for a seamless installation experience.
List of Contents
- What is Macintosh HD Data?
- Do I Install Big Sur on Macintosh Hd Or Macintosh Hd Data?
- How to Merge Macintosh Hd And Macintosh Hd – Data
- Macintosh HD – Data Full
- Macintosh HD Data Not Mounted
- How to Access Macintosh HD – Data
- Starting Internet Recovery Mac
- How to Reinstall Mac Os Without Disc
- Reinstall macOS from USB
- Do I Need Both Macintosh HD and Macintosh HD data?
- What’s the Difference between Macintosh HD and Macintosh HD Data?
- What Happens If I Delete Macintosh HD Data?
- Can I Install Macos Monterey on Macintosh HD Data?
- Conclusion
What is Macintosh HD Data?
Macintosh HD Data is a system folder on macOS that contains various types of data related to the operating system and user files. It may include system logs, caches, temporary files, and other data generated by applications and processes running on your Mac.

This folder is typically hidden from view in the Finder, but it can be accessed if necessary. It is important to note that modifying or deleting files within the Macintosh HD Data folder without proper knowledge or guidance can potentially cause issues with your system.
If you have specific concerns or questions about the contents of this folder, it is recommended to consult with Apple Support or a qualified technician for assistance.
•How to Connect a MacBook to A Monitor HDMI?
Do I Install Big Sur on Macintosh Hd Or Macintosh Hd Data?
A few things to consider when deciding whether to install macOS Big Sur on your Macintosh HD or Macintosh HD – Data volume. The primary factor is whether you want to keep your current data separate from the system files and applications that will be installed with the new operating system. If you choose to install macOS Big Sur on your Macintosh HD, your existing data will be moved to a new location called “Macintosh HD – Data.”
This volume will not be erased during the installation process, so you can continue using your computer while the update is happening. However, it’s important to back up your data before starting the installation in case something goes wrong. If you decide to install macOS Big Sur on a separate volume, you’ll need to format that volume first.
This will erase all of the data on it, so make sure to back up anything you want to keep. Once the volume is formatted, the installer will copy over the necessary system files and applications. Your existing data will remain untouched on Macintosh HD.
How to Merge Macintosh Hd And Macintosh Hd – Data
If you’re like most people, you probably have two hard drives on your Mac: one for the operating system and applications (Macintosh HD), and one for your data (Macintosh HD – Data). While it’s not strictly necessary to merge these two drives, doing so can be helpful in a number of ways. For example, if you ever need to reinstall the operating system, having all of your data on the same drive will make things much simpler.
There are a few different ways to merge Macintosh HD and Macintosh HD – Data, but we’ll be focusing on the simplest method: using Disk Utility. First, open Disk Utility (located in Applications > Utilities). Next, select the drive that contains your data (Macintosh HD – Data) from the left sidebar and click on the “Erase” button.
When prompted, choose “Mac OS Extended (Journaled)” as the file format and click “Erase.” Once the erase process is complete, select both drives (Macintosh HD and Macintosh HD – Data) from the left sidebar and click on the “RAID” tab at the top of the window. From here, simply click on the “+” button and choose “Create RAID Set.”
Give your new RAID set a name (like “Main Drive”) and click “Create.” That’s it! You’ve now successfully merged Macintosh HD and Macintosh HD – Data into a single drive.
Macintosh HD – Data Full
If you’re a Mac user, you’ve probably seen the “Macintosh HD – Data Full” message before. This is a common error that can occur when your Mac’s hard drive is getting full. There are a few things you can do to fix this problem and free up some space on your hard drive.
First, take a look at what is taking up space on your hard drive. You can do this by opening the Finder and selecting “About This Mac.” From here, select the “Storage” tab to see a breakdown of what is taking up space on your hard drive.
Next, start deleting any unnecessary files that are taking up space on your hard drive. This includes things like old documents, unused applications, and downloaded files that you no longer need. If you’re not sure what something is, you can always Google it to find out.
Finally, if you’re still having trouble with the “Macintosh HD – Data Full” error message, you may need to delete some of your system files. This should only be done as a last resort, as it can cause problems with your Mac if done incorrectly. If you decide to go this route, be sure to back up all of your important files first!
Macintosh HD Data Not Mounted
If you’re having trouble with your Macintosh HD not mounting, there are a few things you can try to fix the issue. First, make sure that your computer is turned on and the power cord is plugged in. If it’s still not mounting, try restarting your computer.
Sometimes this will kick-start the process and get your drive mounted again. If you’re still having trouble, one thing you can try is using Disk Utility to repair your Macintosh HD. To do this, open Disk Utility (you can find it in the Utilities folder in your Applications folder).
Select “Macintosh HD” from the list of drives on the left side of the window, then click on the “Repair Disk” button. This will scan for and attempt to repair any errors on your drive. Hopefully one of these solutions will help get your Macintosh HD back up and running again!
•HD Desktop Wallpapers Free Download
How to Access Macintosh HD – Data
Most Mac users know that their hard drive is divided into two sections: the Macintosh HD and the Data partition. However, accessing the Data partition can be a bit tricky for some users. In this article, we’ll show you how to easily access your Data partition in macOS.
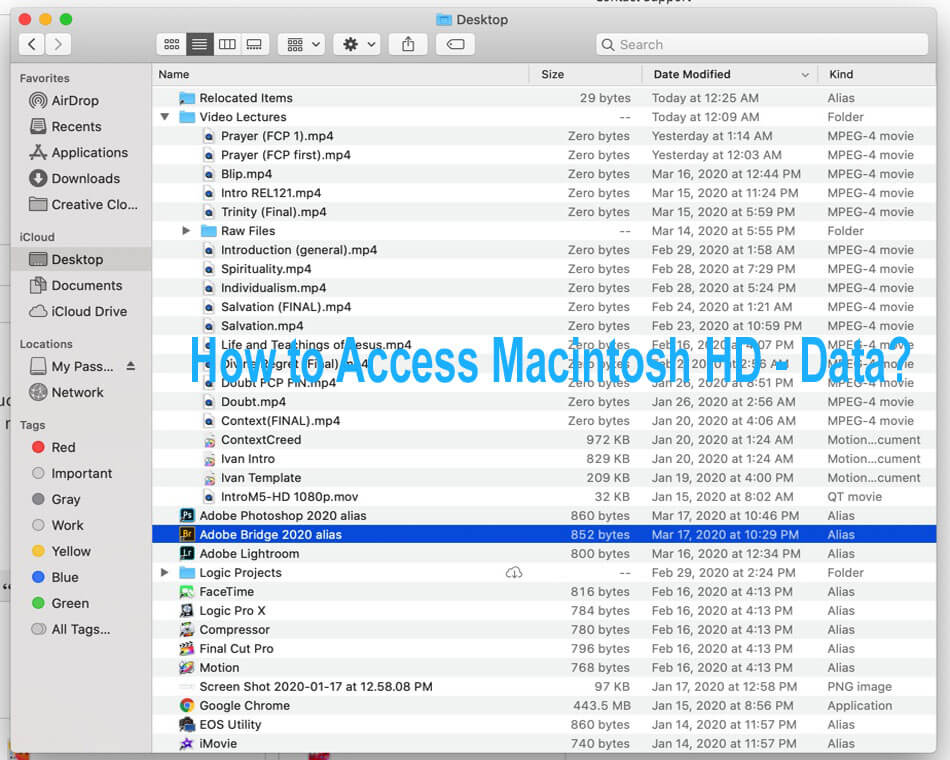
To start, open Finder and click on the Go menu at the top of the screen. Then, select Computer from the drop-down menu. You should see both your Macintosh HD and Data partitions listed here.
To access your Data partition, simply double-click on it. If you don’t see your Data partition listed here, it’s likely because it’s not mounted. To mount it, open Disk Utility (located in Applications > Utilities).
Select your hard drive from the list of devices on the left side of the window and then click on Mount at the top of the window. This will mount your Data partition and make it accessible in Finder. That’s all there is to it!
Now that you know how to access your data partition, you can use it to store important files or backups.
Starting Internet Recovery Mac
When your Mac is having problems starting up, one option you have is to use Internet Recovery. This will allow you to reinstall the operating system and start fresh. Here’s how to do it:
1. Restart your Mac and hold down the Option key while it’s booting up.
2. When you see the Startup Manager, choose the Wi-Fi icon or Ethernet icon. 3. Your Mac will connect to Apple’s servers and download a recovery image. Once that’s finished, it will start up from that image.
4. You’ll be given the option to reinstall macOS or restore from a Time Machine backup. Choose whichever option you need and follow the instructions on the screen.
How to Reinstall Mac Os Without Disc
If your Mac comes with macOS Mojave, you can reinstall the operating system on it without using a physical disc. This process is called “Internet Recovery,” and it’s one of the handy features of Apple’s Time Machine backup system. Here’s how to do it:
1. Restart your Mac and hold down the Command+Option+R keys immediately after hearing the startup chime. Keep holding these keys until you see the Apple logo or a spinning globe.
2. Your Mac will now boot into recovery mode and begin downloading the necessary files from Apple’s servers. This may take a while, so be patient.
3. Once the download is complete, you’ll be presented with various options for reinstalling macOS Mojave. Choose the “Reinstall macOS” option and click Continue.
4. Follow the prompts to complete the installation process, and you’re done! Your Mac should now be running macOS Mojave without any issues.
•Happy birthday images And HD wallpaper collection
Reinstall macOS from USB
If you need to reinstall your macOS, the process is pretty straightforward. All you need is a USB drive with at least 8 GB of storage and the latest version of macOS that you want to install. First, format your USB drive as Mac OS Extended (Journaled) using Disk Utility.
Next, open up the App Store and download the latest version of macOS that you want to install. Once it’s finished downloading, quit out of the installer. Now open up Terminal and enter the following command:
sudo /Applications/Install\ macOS\ High\ Sierra.app/Contents/Resources/createinstallmedia –volume /Volumes/MyVolume –applicationpath /Applications/Install\ macOS\ High\ Sierra.app –nointeraction &&say Done Replace “MyVolume” with the name of your USB drive. This command will take a while to run so be patient!
When it’s done, you’ll have a bootable installer for macOS on your USB drive which you can use to reinstall your operating system.
Credit: www.backblaze.com
Do I Need Both Macintosh HD and Macintosh HD data?
If you have a Mac, you’re probably familiar with the two hard drives that come standard on most models: Macintosh HD and Macintosh HD Data. You may be wondering if you really need both of these drives or if one is sufficient for your needs. Here’s a look at the difference between the two drives and whether you need both of them.
Macintosh HD is your main hard drive, where your operating system and all of your applications are stored. This is the drive that your Mac boots from when you turn it on. It’s important to note that this drive is separate from any external hard drives or other storage devices that you may have connected to your Mac.
Macintosh HD Data is a secondary hard drive that’s used for storing data files. This could include documents, photos, music, videos, etc. One advantage of having a separate data drive is that it can help free up space on your main drive, which can improve performance.
Additionally, if something happens to your main drive (such as a virus), your data will still be safe on the separate data drive. So, do you need both Macintosh HD and Macintosh HD Data? It depends on how much storage you need and how you plan to use your Mac.
If you have a lot of data or if you use demanding applications that require extra space, then having both drives can be beneficial. However, if you don’t have a lot of data or if you don’t use resource-intensive apps, then one drive may be sufficient for your needs.
What’s the Difference between Macintosh HD and Macintosh HD Data?
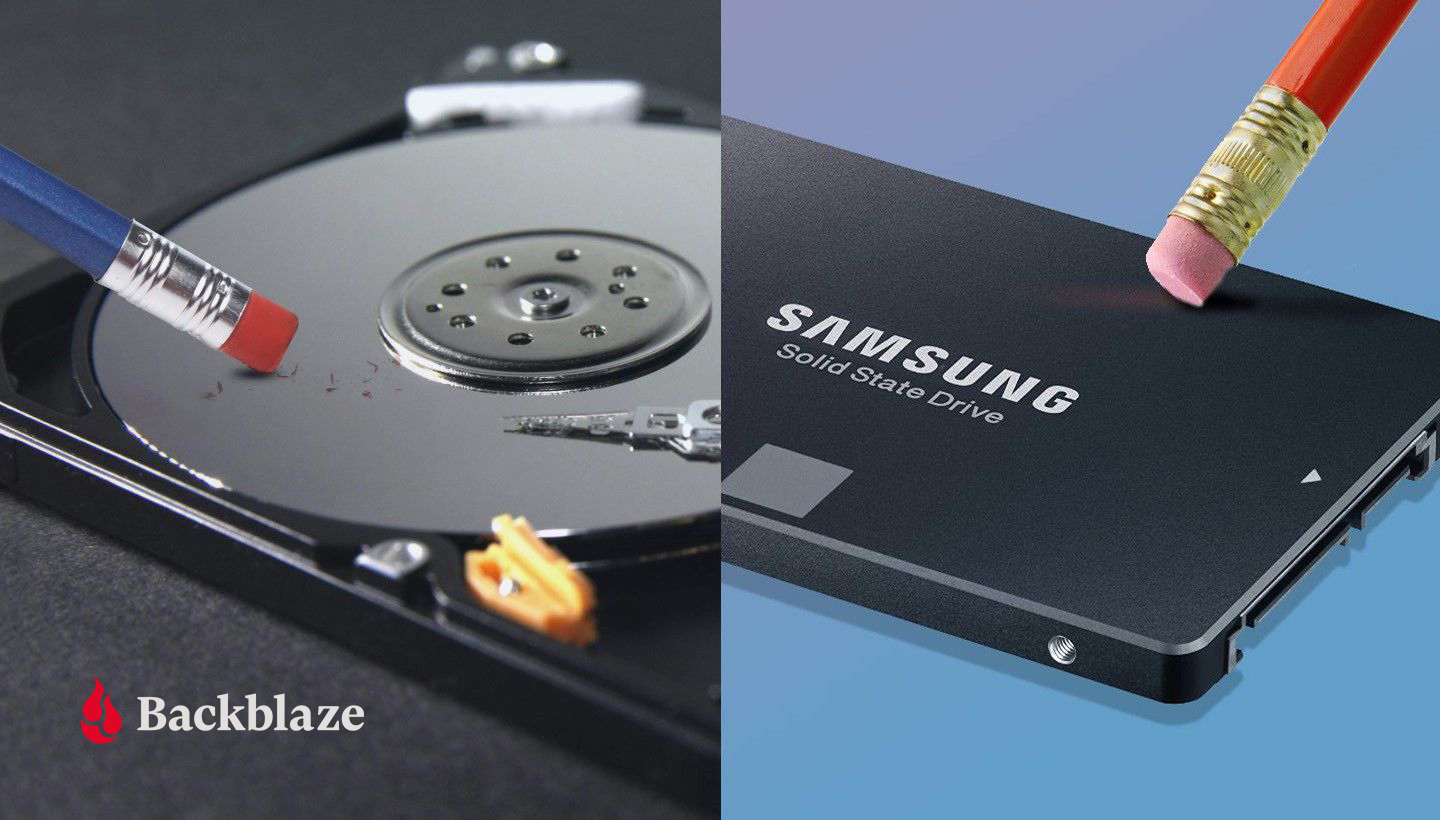
There are two types of hard drives that can be used with a Macintosh computer: the standard hard drive and the solid-state drive. The main difference between these two types of drives is the way they store data. A standard hard drive uses spinning disks to store data, while a solid-state drive uses flash memory chips.
Solid-state drives are generally faster than standard hard drives because they have no moving parts. This means that they can access data much quicker than a hard drive. Solid-state drives are also more durable than hard drives because there are no moving parts to break.
If you’re looking for a new hard drive for your Macintosh computer, then you should definitely consider getting a solid-state drive. They offer many benefits over standard hard drives, and they’re only going to become more popular in the future.
What Happens If I Delete Macintosh HD Data?
When you delete data from your Macintosh HD, it is permanently erased and cannot be recovered. This is because the data is not actually stored on the hard drive itself, but on the storage medium (usually a magnetic disk). When you delete a file, the operating system simply marks the space as being available for reuse. The actual data remains on the disk until it is overwritten by new data.
Can I Install Macos Monterey on Macintosh HD Data?
Yes, you can install macOS Monterey on Macintosh HD data. However, we recommend that you create a separate partition for your macOS installation. This will allow you to easily revert back to your previous operating system if needed.
Conclusion
If you’re wondering whether to install macOS on your Macintosh HD or Macintosh HD – Data, the answer is that it depends on what you want to use your computer for. If you need more storage space, then installing macOS on Macintosh HD – Data is the way to go.
However, if you want to use your computer for more than just storage, then installing macOS on your Macintosh HD will give you better performance. I hope you already got your question answer is Do I Install MacOS on Macintosh HD Or Macintosh HD Data?